# CC-Switch
`CC-Switch` is a graphical tool for managing AI interface configuration. It can manage provider settings and API keys for multiple Agent clients in one place, including mainstream AI coding assistants such as `Claude Code`, `Codex`, and `OpenCode`, reducing the risk of configuration mistakes.
Common use cases include:
- Managing provider settings and API keys for multiple Agent clients, such as `Claude Code`, `Codex`, and `OpenCode`.
- Quickly switching between AI model interfaces without manually editing environment variables or local config files.
- Reducing repeated setup work and improving maintainability across multiple clients.
This guide focuses on installation. For detailed client configuration, see the related client pages.
## Installation
Follow the steps for your operating system.
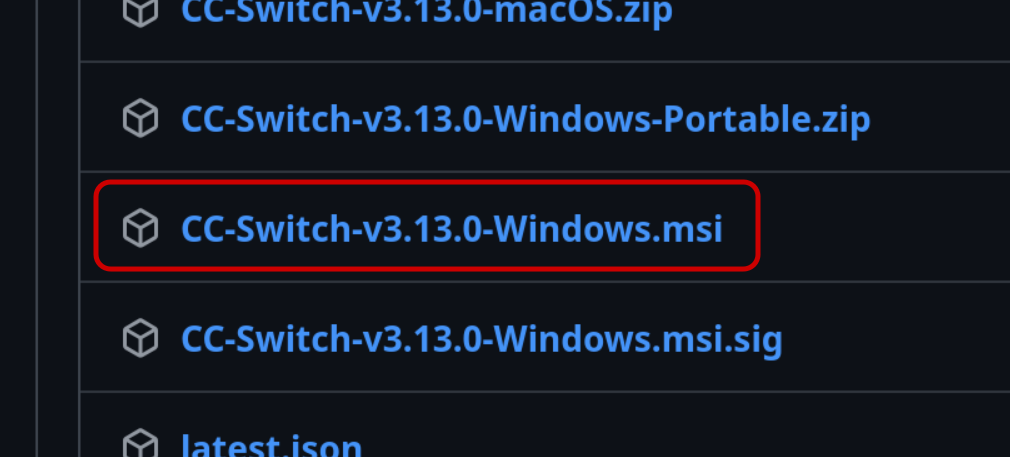
1. Open the [latest release page](https://github.com/farion1231/cc-switch/releases/latest).
Find the Windows installer on the page. The `.msi` package is recommended, as shown below:
2. After the download finishes, double-click the installer.
3. Follow the installer wizard to complete installation.
4. After installation, find and launch `CC-Switch` from the Start menu.
Homebrew is recommended:
```bash
brew tap farion1231/ccswitch
brew install --cask cc-switch
```
After installation, find and run `CC-Switch` from Applications or Launchpad.
For Linux users, download the AppImage from the release page:
1. Open the [release page](https://github.com/farion1231/cc-switch/releases/latest).
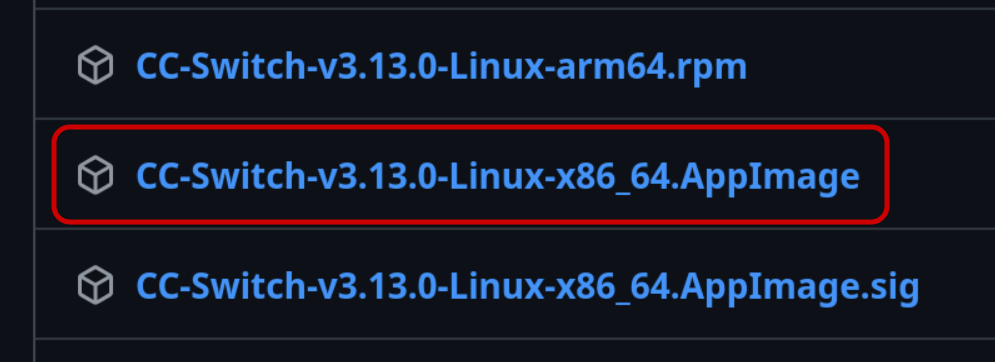
2. Choose the AppImage file for your system architecture, such as `CC-Switch-v3.13.0-Linux-x86_64.AppImage`.
Pick the correct version for your actual architecture, such as x86_64 or arm64.
If you are unsure which file to choose, refer to the screenshot below:
3. After downloading, make the file executable:
```bash
chmod +x CC-Switch-v3.13.0-Linux-x86_64.AppImage
```
4. Double-click the file, or start it from a terminal:
```bash
./CC-Switch-v3.13.0-Linux-x86_64.AppImage
```
If you use a graphical desktop such as KDE or GNOME, you can also right-click the file, open Properties or Permissions, and enable permission to run it as a program.
The AppImage bundles all required dependencies and works on most Linux distributions.
## How to Start After Installation
1. Follow [Create API Key](https://docs.gorouter.cc/en/docs/gorouter/create-apikey.md) to get a new API key.
2. Open `CC-Switch`, click the Add button in the upper-right corner, and choose to add a unified provider.
3. Fill in the following fields accurately in the configuration window:
```text
Provider name: gorouter
API URL: https://www.gorouter.cc
API Key: your GoRouter API key
```
Example interface:
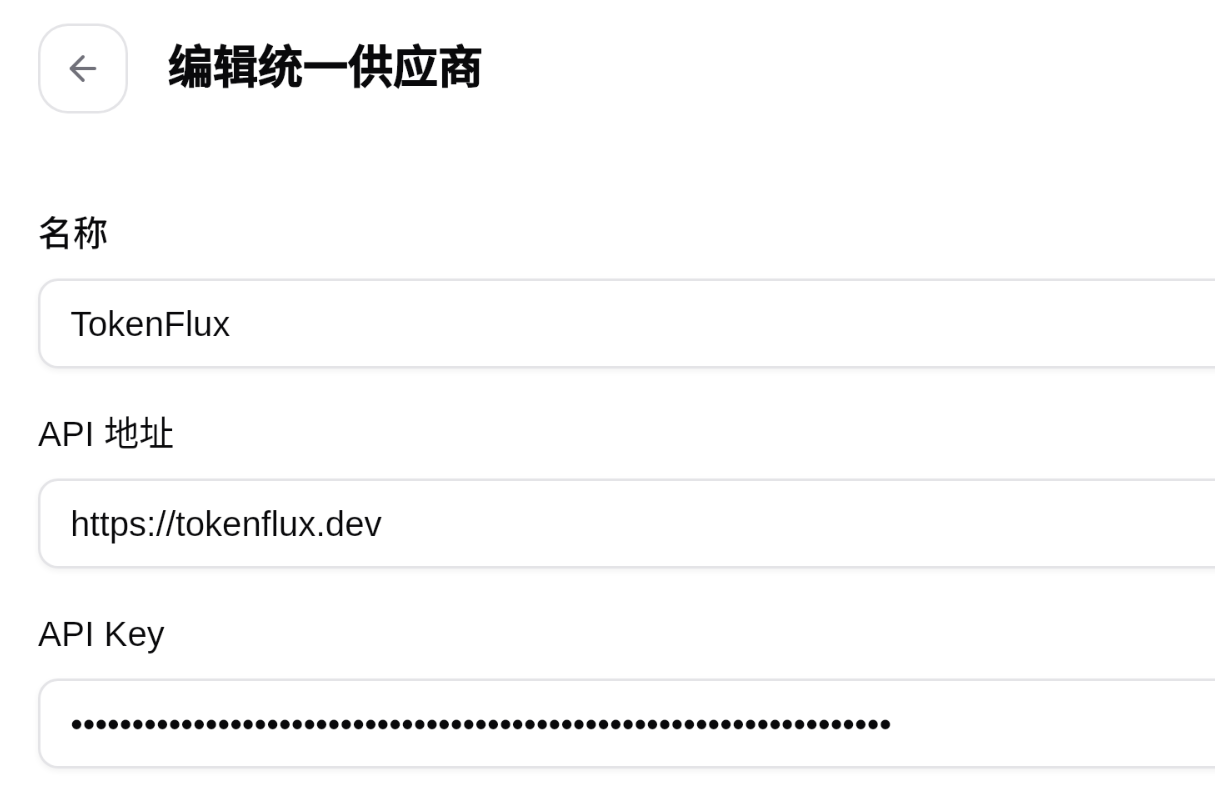
4. Save the configuration. `CC-Switch` will enable this provider for all related Agent clients.
## Next Steps
After installing and configuring `CC-Switch`, restart your client and start using it.
More guides:
- [Claude Code Guide](https://docs.gorouter.cc/en/docs/agents/claude-code.md)
- [Codex Guide](https://docs.gorouter.cc/en/docs/agents/codex.md)
- [OpenCode Guide](https://docs.gorouter.cc/en/docs/agents/opencode.md)