Cherry Studio Guide
Cherry Studio is a desktop AI chat client with multi-model support. It has a clean interface, supports custom providers, and is suitable for daily conversations and multi-model comparison.
Installation
Go to the Cherry Studio download page and choose the installer for your operating system.
Cherry Studio provides both Setup installers and Portable builds, with x64 and ARM64 support.
- Open the download page and choose the installer for your system architecture:
- Regular PC: choose the recommended standard build.
- ARM device: choose the
ARMbuild.
- After downloading, double-click the installer and follow the wizard.
- After installation, launch
Cherry Studiofrom the Start menu.
Note: Cherry Studio does not support Windows 7.
If startup reports missing runtime libraries, install the Visual C++ Redistributable first.
Connect to GoRouter
After installation, add GoRouter as a custom provider in Cherry Studio.
Follow Create API Key to generate an API key.
Open
Cherry Studio, go to Settings -> Model Services, and click to add a provider.Choose provider type:
OpenAI-Response.
Enter the generated API key and API URL
https://www.gorouter.cc/v1, fetch the model list, and select the models you need.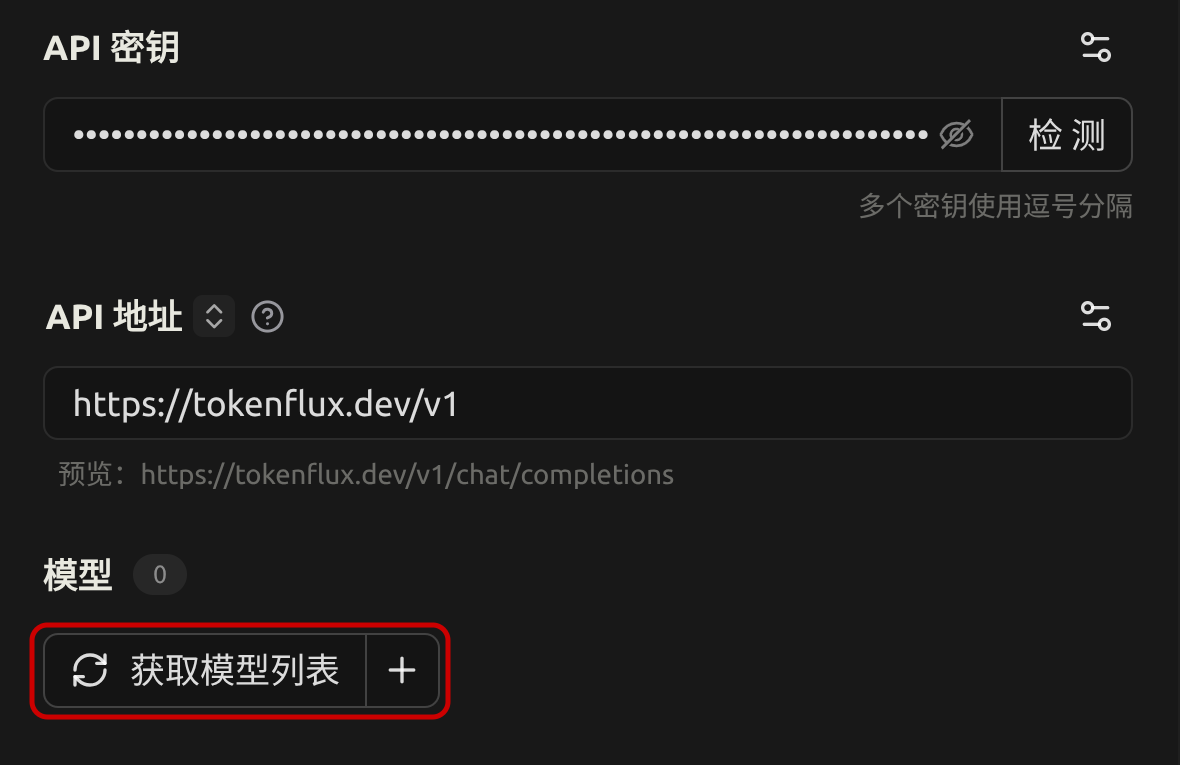
Save it, then add the models you want to use in the model list, such as
gpt-5.4orgpt-5.4-mini.Return to the chat interface and select the model you just added to start using it.
Next Steps
After setup, you can chat with GoRouter-supported models directly in Cherry Studio.
More related content: